General Brand Customizations
Introduction
In this guide, we’ll cover some basic website customizations that you’ll need to complete to personalize the site to match your brand.
These instructions are ONLY for the Notary template by SimplySchedule.me.
General Website Customizations
Site Name and Tagline
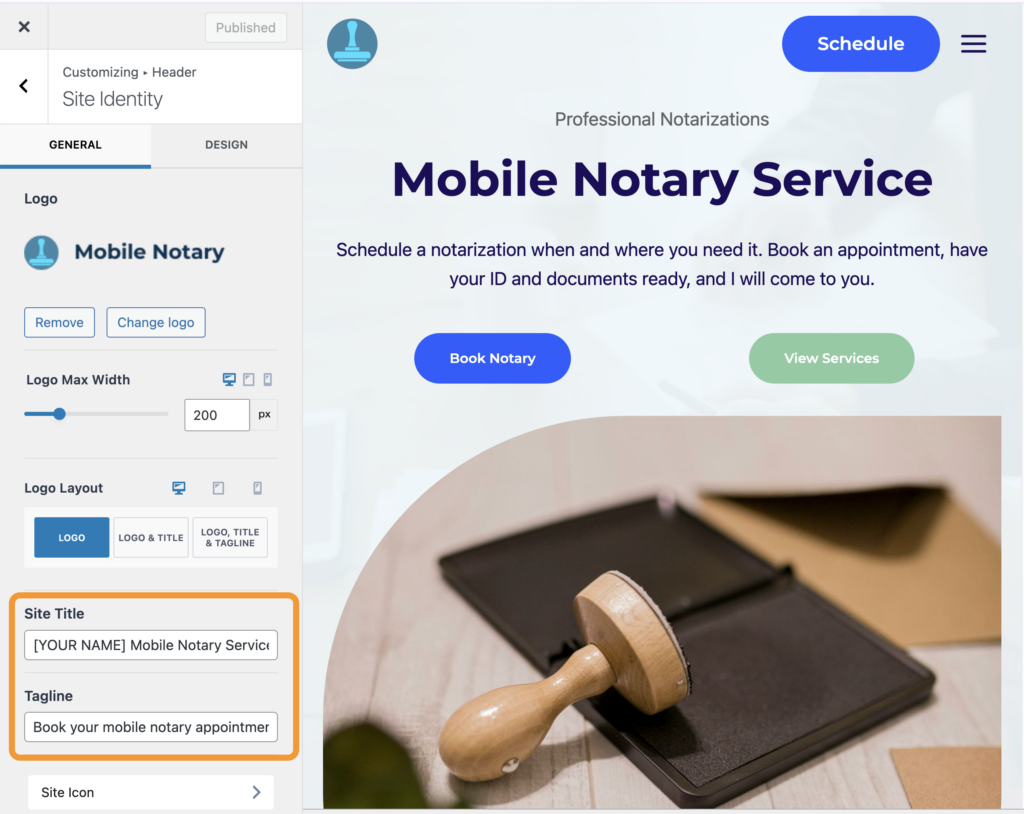
Let’s start by updating the Site name (default is [YOUR NAME] Mobile Notary Service). Go to Dashboard → Appearance → Customize → Site Identity → Site Title and Logo Control → Site Title.
Right below the Site Name, you can also edit the Site tagline (the default is Book your mobile notary appointment).
Site Logo
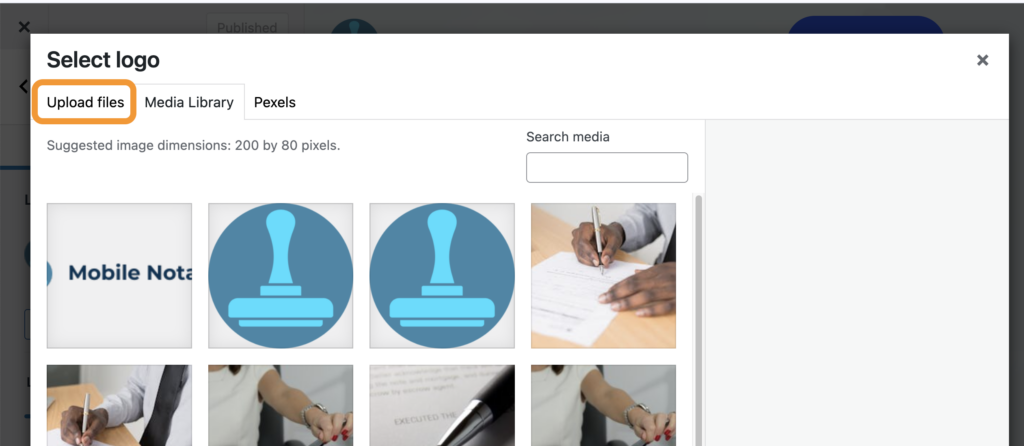
From the same Site Identity screen, swap the default Logo with your brand’s logo.
Click on the Change Logo button to get started, and you’ll need to use the Upload Files tab to add your logo.
Site Icon
Next, let’s swap the Site Icon from the same screen or by navigating to Dashboard → Appearance → Customize → Site Identity → Site Icon.
The Site Icon is what you see in browser tabs or bookmark bars. Make sure to use a square 512 x 512 pixel image and that your icon is legible or recognizable at teeny tiny sizes.
Social Links in Footer
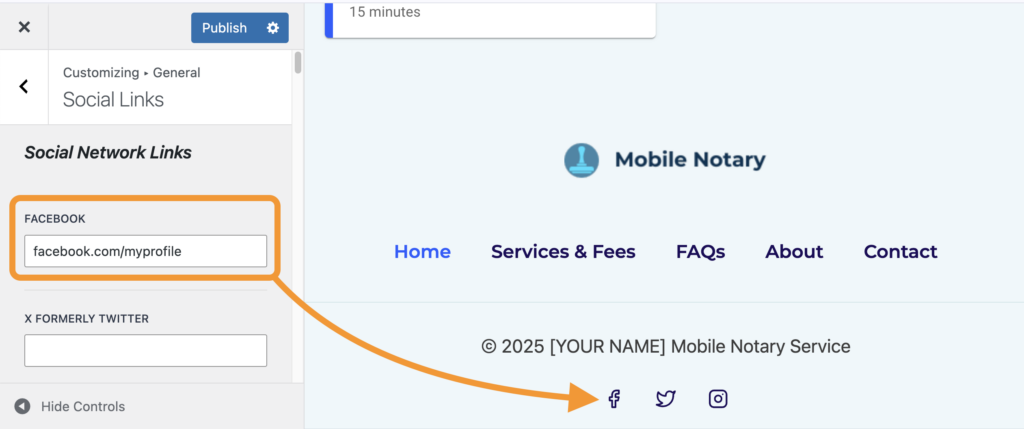
Lastly, you’ll need to head over to Dashboard → Appearance → Customize → Footer → Social to edit the Footer Social links.
Facebook, Twitter, and Instagram are set by default. However, you can Add or Remove the social links if you wish.
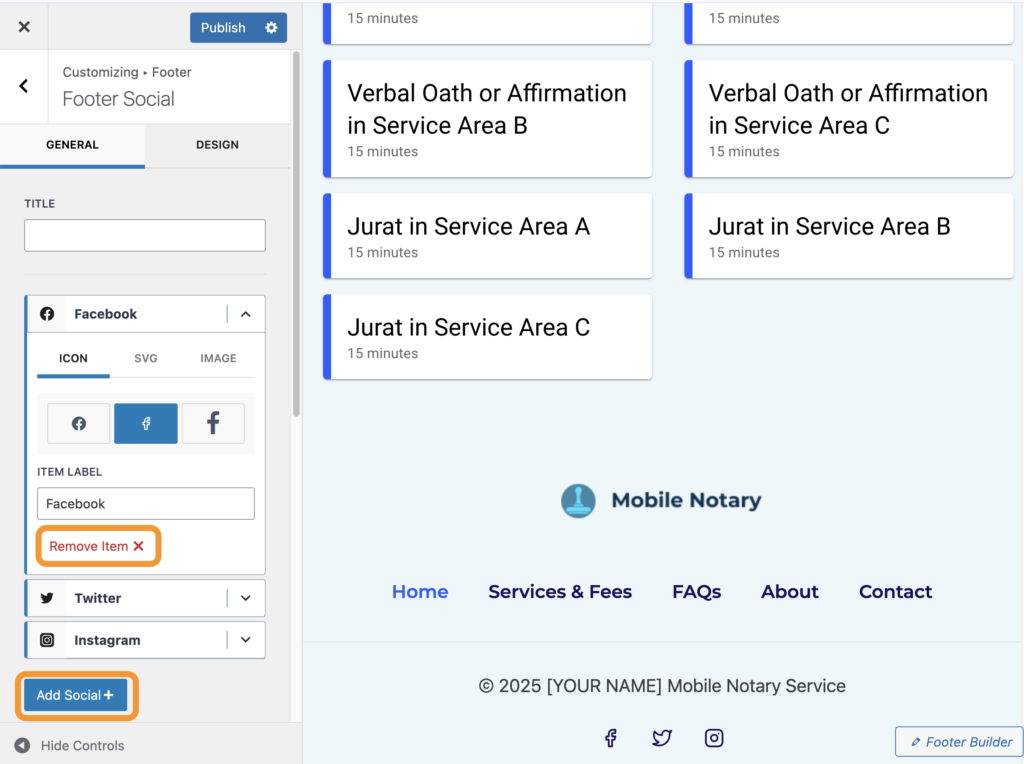
To Edit Links, Click on the Set Social Links button and enter the link to your social media profile in the corresponding field.